In an age dominated by digital streaming platforms, the rich, warm tones of vinyl have made a powerful comeback. Whether you’ve inherited a record collection or are diving into the world of analog audio for the first time, learning how to use a vinyl player can feel both exciting and slightly intimidating. Fortunately, it’s not as complex as it may appear, and once you understand the basics, the experience of spinning records can become a deeply satisfying hobby.
TL;DR: Using a vinyl player involves understanding its components, carefully placing your record, and gently operating the tonearm. Make sure your turntable is on a stable, level surface and properly connected to your sound system. Handle vinyl and the stylus with care to protect your equipment and audio quality. Once set up, enjoy the unique listening experience only vinyl can provide.
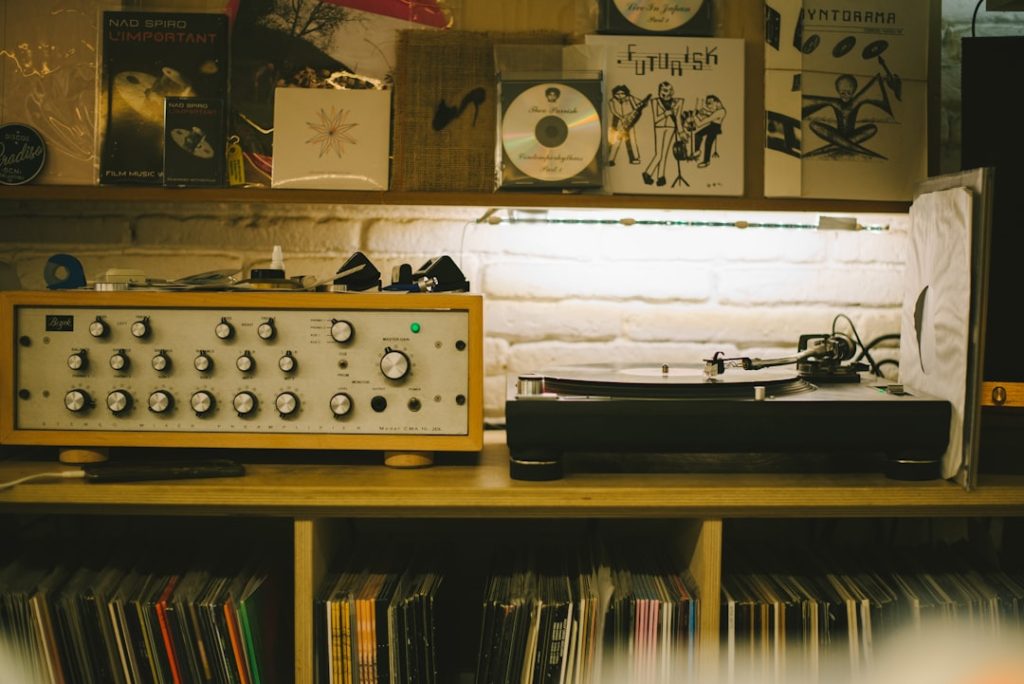
Understanding the Components of a Vinyl Player
Before using your vinyl player, it is essential to familiarize yourself with its primary components. Knowing what each part does will help you operate the player correctly and identify any issues that might arise during use.
- Platter: The rotating platform where the vinyl record sits.
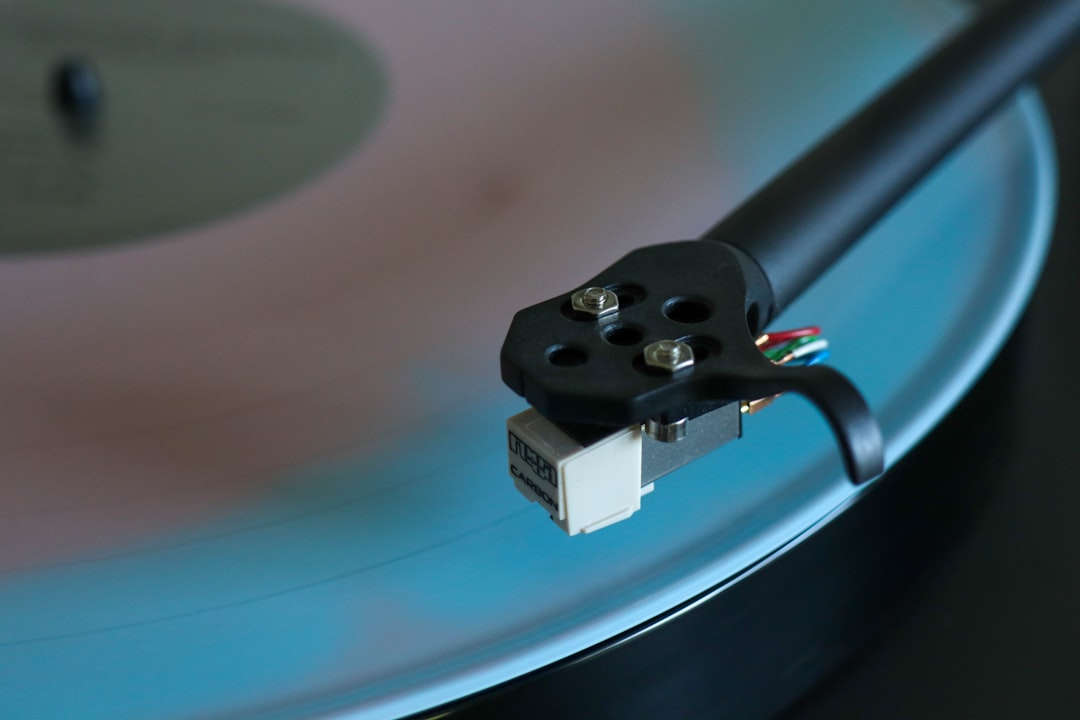
- Tonearm: The arm that holds the cartridge and stylus. It moves across the record to read the grooves.
- Cartridge and Stylus: The cartridge attaches to the tonearm and holds the stylus (needle), which touches the record grooves to produce sound.
- Slipmat: A felt or rubber mat placed on the platter to protect records and reduce vibration.
- Counterweight: Appears at the back of the tonearm and helps balance the tonearm for proper stylus tracking force.
- Anti-skate Dial: This feature prevents the tonearm from being pulled too forcefully toward the center of the record.
- Speed Select Switch: Used to choose the appropriate rotational speed, usually 33 1/3 RPM or 45 RPM, depending on your record type.
- Phono Output and Preamp: Some turntables require an external preamp to amplify the phono signal, while others have a built-in preamp.
Setting Up Your Turntable
Proper setup is crucial if you want to avoid damaging your records or stylus. Before playing records, ensure everything is assembled correctly, and that the turntable is positioned ideally for performance.
- Find a level surface: A perfectly balanced surface is essential to ensure proper tracking of the record grooves by the stylus.
- Install the platter (if not pre-assembled): Place the platter onto the spindle and ensure it spins freely.
- Attach the slipmat: Place it onto the platter to reduce friction between the platter and the record.
- Balance the tonearm: Adjust the counterweight until the tonearm floats horizontally on its own, then apply tracking force as recommended by the cartridge manufacturer.
- Set anti-skate: Match it to the same value as the tracking force to maintain even stylus pressure.
- Connect to a sound system: Plug the audio-out cables to your amplifier or powered speakers. If using a phono output, make sure you run it through a phono preamp.
Choosing and Handling Vinyl Records
Vinyl records are delicate; even minor scratches or dust buildup can cause noticeable distortions during playback. Treating your records with care not only preserves their lifespan but also ensures optimal sound quality.
- Store records vertically: Avoid stacking them flat, as this can cause warping over time.
- Keep them clean: Use a carbon fiber brush before and after each use to remove surface dust.
- Handle by the edges: Avoid touching the grooves directly, as the oils from your fingers can attract dirt and cause damage.
- Use inner sleeves: Acid-free, anti-static inner sleeves are ideal for protecting your records inside the album jacket.
How to Play a Vinyl Record
Once your turntable is set up and your records are clean, it’s time to play a record. This process involves care and attention, both to protect your gear and to get the best possible sound.
- Power the turntable on: Ensure the unit is connected to your audio system and plugged into a power source.
- Select the correct speed: Check the label on your record for the designated speed and adjust your turntable accordingly (typically 33 1/3 RPM or 45 RPM).
- Place the record on the platter: Align the center hole with the spindle; the record should lay flat and steady.
- Clean the record: Use a record-cleaning brush or cloth to remove any dust particles before playback.
- Lift and aim the tonearm: Use the cueing lever to raise the tonearm, then move it over the outer edge of the record or the first track.
- Lower the tonearm gently: Drop the stylus slowly using the cueing lever; never drop the stylus manually as this may damage the record.
- Enjoy the music: Sit back and experience the authentic, rich tones of analog sound.
Understanding Stylus Care and Maintenance
The stylus is one of the most critical and vulnerable components of your vinyl player. Keeping it clean and properly aligned ensures both your records and the needle last significantly longer.
- Clean regularly: Use a stylus brush or an electronic stylus cleaner to gently remove dust and debris.
- Avoid physical contact: Never touch the stylus with your fingers.
- Replace when necessary: A stylus lasts between 500 to 1,000 hours of playtime. If you notice distortion or skipping, it may be time to replace it.
Troubleshooting Common Issues
Even with proper use, problems can occur. It’s useful to know how to identify the signs and take corrective action.
- Distorted sound: Often indicates dirt on the stylus or record; clean both and see if the issue persists.
- Skipping or jumping: Could be caused by a misaligned tonearm or warped record.
- Buzzing or hum: Might stem from grounding issues with your turntable. Check if there’s a dedicated grounding wire and connect it to your amplifier if necessary.
- Stylus not touching the record: Ensure the tonearm is not locked, the cueing lever is working, and the counterweight is properly balanced.
Upgrading Your Setup
As you grow more accustomed to vinyl listening, you might want to improve your setup for a better auditory experience. Many parts of a vinyl system can be upgraded over time.
- Replace the cartridge: A higher-quality cartridge can provide clearer, richer sound.
- Add isolation feet: These help reduce surface vibrations that can affect playback quality.
- Upgrade speakers or amplifier: Better speakers can make a significant difference in how your music sounds.
- Consider a record-cleaning machine: While brushes are great, automated cleaning solutions are effective for deep cleaning.
Final Thoughts
Using a vinyl player is more than pressing play—it’s a hands-on experience that deepens your connection with music. From setting up the turntable to carefully placing the needle on your favorite LP, each step requires care, patience, and respect for the medium.
By understanding how your record player works and how to maintain it, you not only prolong the life of your equipment and records but also enhance your listening experience. Whether you’re spinning a new release or a vintage classic, vinyl offers an unmatched sensory journey through sound.