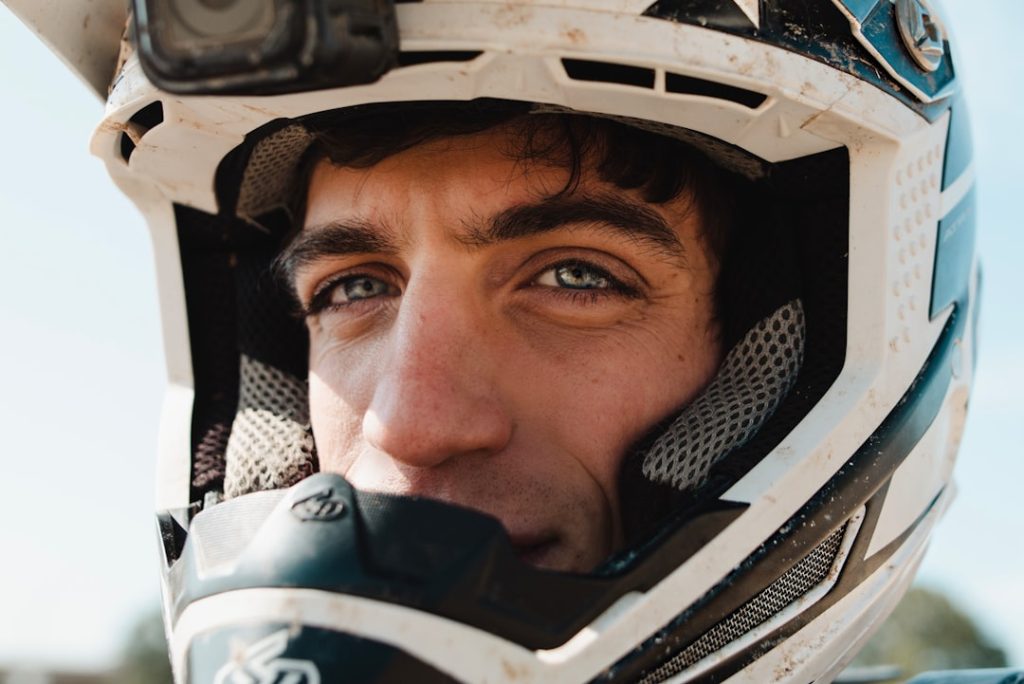
Mounting impact sports accessories to a helmet is a task that requires precision, patience, and attention to safety standards. Whether attaching a camera, visor, light, communication system, or protective face guard, proper installation ensures both performance and protection. A poorly mounted accessory can compromise safety, reduce effectiveness, and even damage the helmet itself. Understanding the correct tools, preparation steps, and installation methods is essential for achieving secure and reliable results.
TLDR: Properly mounting impact sports accessories to a helmet ensures safety, performance, and durability. Always verify helmet compatibility, use manufacturer-approved mounts, and carefully prepare the surface before installation. Securely attach the equipment using adhesives, clamps, or hardware as recommended. Regular inspection and maintenance are crucial to maintain safety over time.
Understanding Helmet Compatibility
Before mounting any accessory, one must first determine whether the helmet is compatible with additional equipment. Not all helmets are designed to support external attachments. Drilling or altering certain helmet types may void warranties or reduce impact protection.
Key factors to consider include:
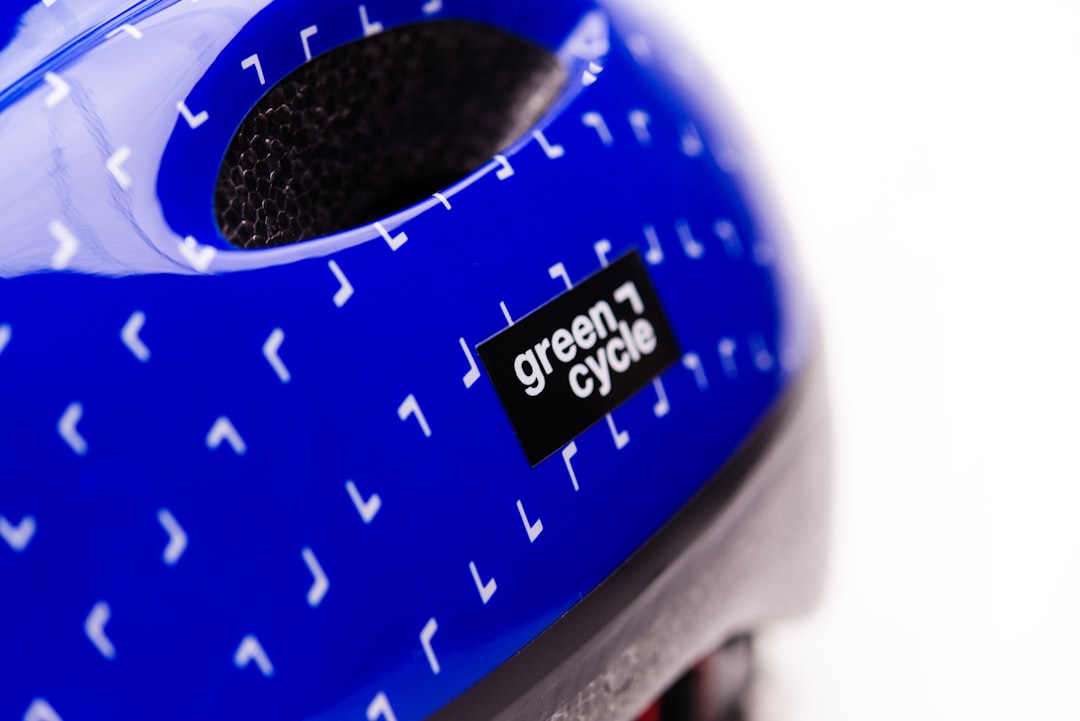
- Helmet Material: Polycarbonate, fiberglass, and carbon fiber helmets each require different mounting techniques.
- Certification Standards: Ensure the helmet remains compliant with safety certifications after mounting.
- Surface Shape: Curved surfaces may require specialized adhesive mounts or flexible brackets.
- Weight Distribution: Adding accessories should not create imbalance or neck strain.
Impact sports helmets are engineered to dissipate force effectively. Any modification must preserve this function. Whenever possible, individuals should consult the helmet manufacturer’s guidelines before proceeding.
Common Accessories Mounted on Helmets
Different sports require different helmet attachments. Understanding the type of equipment being mounted determines the installation method.
Typical helmet-mounted accessories include:
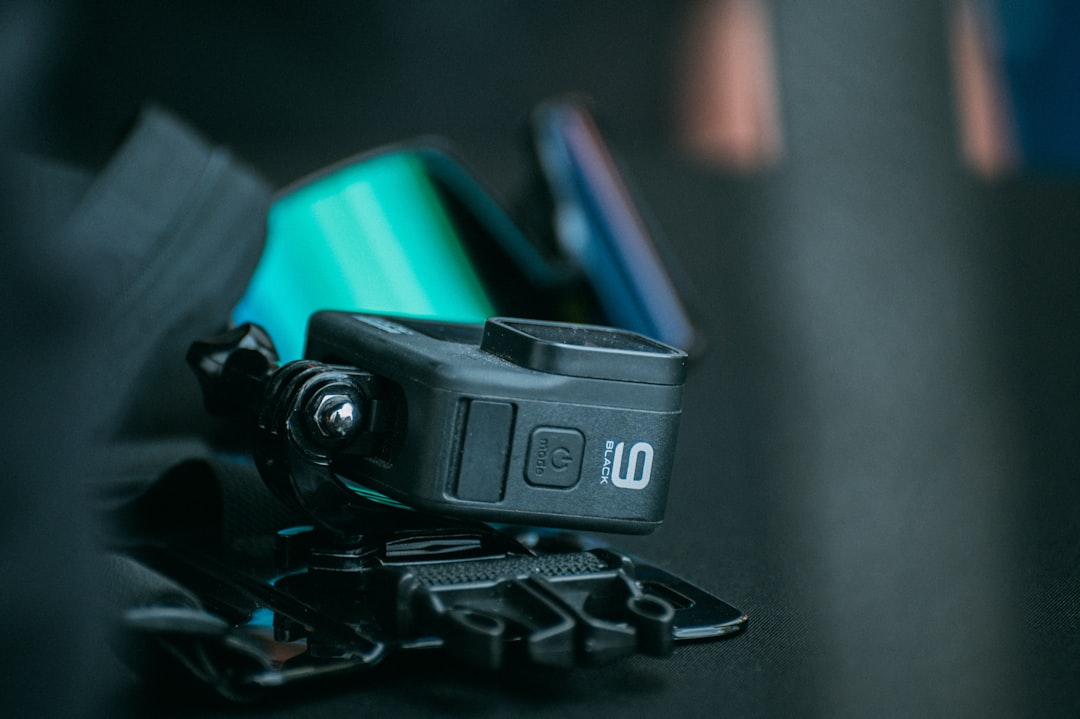
- Action cameras
- LED lights
- Communication systems
- Face shields or visors
- Impact sensors
- GoPro-style mounting brackets
Each attachment may require adhesives, clips, Velcro straps, or bolt-on hardware depending on sport-specific demands such as cycling, skiing, football, or climbing.
Tools and Materials Needed
Preparing the correct tools in advance prevents installation errors. While requirements vary by accessory, most mounting projects require the following:
- Isopropyl alcohol wipes (for surface cleaning)
- Mounting bracket or adhesive pad
- Screwdriver or hex key
- Masking tape
- Measuring tape or ruler
- Non-permanent marker
- Torque screwdriver (for precise tightening)
Using high-quality mounting components is critical. Cheap adhesive pads or generic hardware may fail during impact, which can lead to injury or equipment loss.
Step-by-Step Mounting Process
1. Clean the Surface
Begin by thoroughly cleaning the helmet surface with isopropyl alcohol. This removes dust, oils, and debris that could interfere with adhesion. Allow the surface to dry completely before proceeding.
2. Identify Optimal Placement
Placement affects balance, aerodynamics, and visibility. For example:
- Front mounts provide forward perspective but increase wind resistance.
- Top mounts allow centered positioning and balance.
- Side mounts may alter weight distribution.
Use masking tape to temporarily position the accessory and assess fit before permanent attachment.
3. Test Fit and Alignment
Once positioned, conduct a fit test. The wearer should put on the helmet and confirm:
- Clear line of sight
- No obstruction of ventilation ports
- No discomfort or pressure points
- Secure strap operation
This stage prevents misalignment issues that could affect functionality.
4. Apply Mounting Mechanism
There are three primary attachment methods:
Adhesive Mounts
Peel the backing from the adhesive pad and apply firm, even pressure for 30–60 seconds. Most manufacturers recommend waiting 12–24 hours before use to ensure full bonding strength.
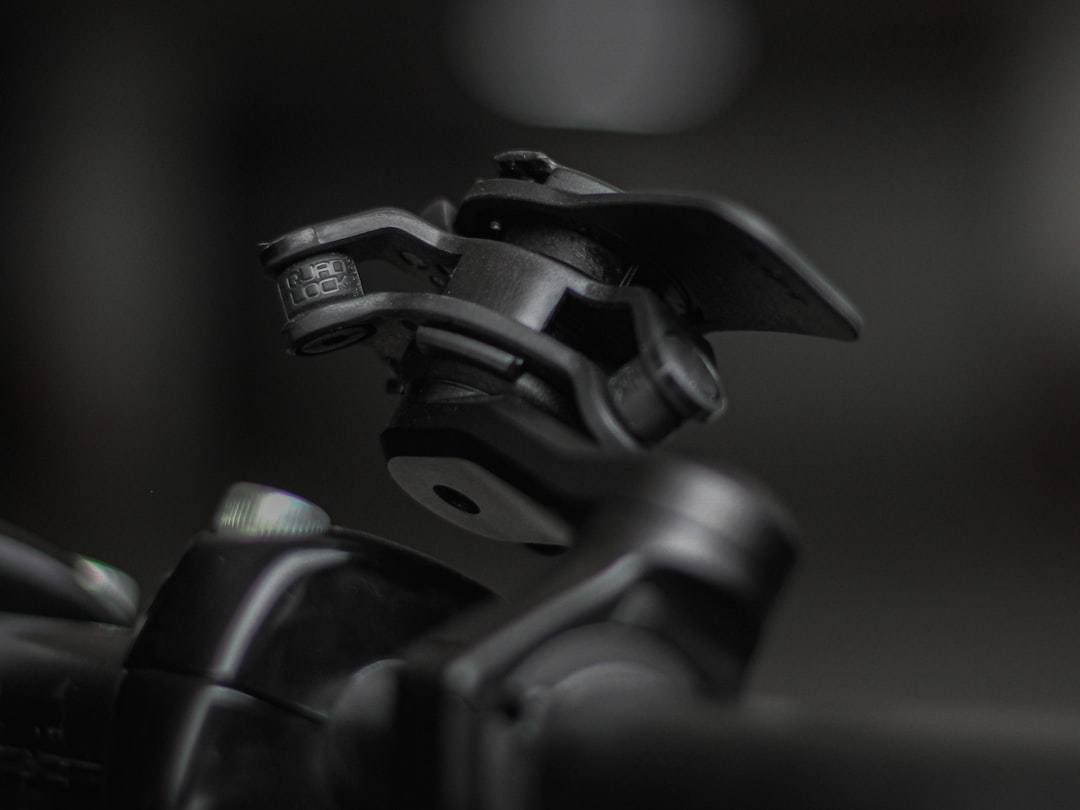
Clamp or Strap-Based Mounts
Position the clamp securely and tighten to manufacturer specifications. Avoid overtightening, as this may crack the helmet shell.
Bolt-On Hardware
If the helmet includes pre-drilled expansion ports or accessory slots, bolts may be inserted. A torque screwdriver ensures accurate tightening without damaging internal impact foam.
5. Secure and Stabilize
After mounting, gently shake the helmet and apply slight pressure to test stability. The accessory should not wobble or shift.
6. Final Inspection
Perform a comprehensive inspection before engaging in sport activity. Confirm:
- All screws are tightened correctly
- Adhesive mount is flush against surface
- No cracks or stress marks are visible
- Interior padding remains unaffected
Avoiding Common Mistakes
Improper installation can compromise safety. Several common errors should be avoided:
- Drilling into non-drill-approved helmets
- Using household glue instead of approved adhesive pads
- Ignoring weight balance
- Mounting over helmet vents
- Failing to allow adhesive curing time
Additionally, accessories should not exceed recommended weight limits. Excess weight increases neck fatigue and rotational force during impact.
Balancing Safety and Performance
Impact sports demand both protection and functionality. Every added accessory changes helmet dynamics. For example, in cycling or skiing, aerodynamic drag may reduce performance. In contact sports, protruding mounts may increase snagging risk.
Strategic placement minimizes these risks. Positioning equipment centrally and close to the helmet shell reduces leverage forces during impact.
Professional athletes often prefer low-profile mounts that conform closely to the helmet’s curve. Such mounts reduce airflow disruption and enhance overall stability.
Maintenance and Ongoing Inspection
Mounting equipment is not a one-time task. Routine maintenance ensures long-term safety.
Best practices include:
- Checking mounts before every session
- Replacing adhesive pads every season
- Inspecting hardware for rust or corrosion
- Ensuring no interior padding displacement
If the helmet sustains an impact, all mounted accessories should be removed and examined. Any visible cracks or loosened components should prompt replacement of the mount or helmet if necessary.
Special Considerations for Specific Sports
Cycling
Lightweight adhesive camera mounts are common. Riders should consider wind noise and vibration resistance.
Skiing and Snowboarding
Cold temperatures can weaken adhesive bonds. Cold-rated adhesive pads should be used, and mounts must resist ice buildup.
Football and Contact Sports
Helmet alterations may be restricted under league regulations. Official approval may be required before modifications.
Rock Climbing
Headlamps are typically secured with integrated clips or elastic straps to avoid permanent changes to helmets.
When to Seek Professional Installation
In some cases, professional installation is advisable. This is particularly true for:
- High-value helmets
- Integrated communication systems
- Impact data sensors for competitive athletes
- Drill-required modifications allowed by the manufacturer
Professional technicians ensure mounting methods preserve structural integrity and maintain compliance with safety regulations.
Conclusion
Mounting impact sports accessories to a helmet requires more than simply sticking or screwing equipment into place. Every step—from selecting approved mounts to cleaning the surface and ensuring proper weight balance—contributes to overall safety and performance. By carefully following manufacturer guidelines and committing to routine inspection, athletes can achieve secure installation without compromising protection. A properly mounted accessory enhances the sports experience while keeping safety at the forefront.
Frequently Asked Questions (FAQ)
1. Can a helmet be drilled to attach accessories?
Only if the manufacturer explicitly permits drilling. Unauthorized drilling can weaken the helmet’s protective shell and void certifications.
2. How long should adhesive mounts cure before use?
Most manufacturers recommend waiting 12–24 hours for full adhesive bonding before engaging in activity.
3. Do helmet accessories affect safety?
Yes, improperly mounted or overly heavy accessories can affect impact performance and weight balance. Proper installation minimizes risk.
4. Can adhesive mounts be reused?
No. Adhesive pads lose their bonding strength after removal and should always be replaced.
5. How often should mounts be inspected?
It is advisable to inspect mounts before every use and perform a more thorough check at least once per season.
6. What is the safest mounting position?
The safest location typically depends on the accessory, but central and low-profile placements generally reduce leverage forces and improve balance.
7. Should accessories be removed after an impact?
Yes. After any significant impact, both the helmet and its mounted accessories should be inspected for structural integrity and replaced if necessary.